


 Ribbon Flower Pillow Tutorial:
 Mark the middle of the fabric square and draw a 2" circle around the middle point.
 Next, put the fabric on the embroidery hoop. Bring the ribbon up through the back, through the circle line, to the edge of the hoop. Back and forth until you are back to where you started.
  This is what the flower should look like after you have sewn the ribbon on.
 This is what the back will look like.
 Next, hand-sew some yellow beads into the middle. This is the most time consuming part...
 Pin the back pieces onto the front (right sides together) and sew.


 First of all, fold your fabric, so it is layered. By doing this you can cut out multiple petals at once. Next, trace the petal onto the fabric.
 Cut out the petals. I ended up using around 70 petals.
 The easiest way to make this pillow is to place the petals in this shape. Start in the middle and work your way out.
  Next, pin each petal. Make sure to pin them securely.
 Next, sew a straight line through each petal. You will go through multiple petals in one stitch run.
 Once that is done, sew on buttons. I used red embroidery floss so I would have a color POP.


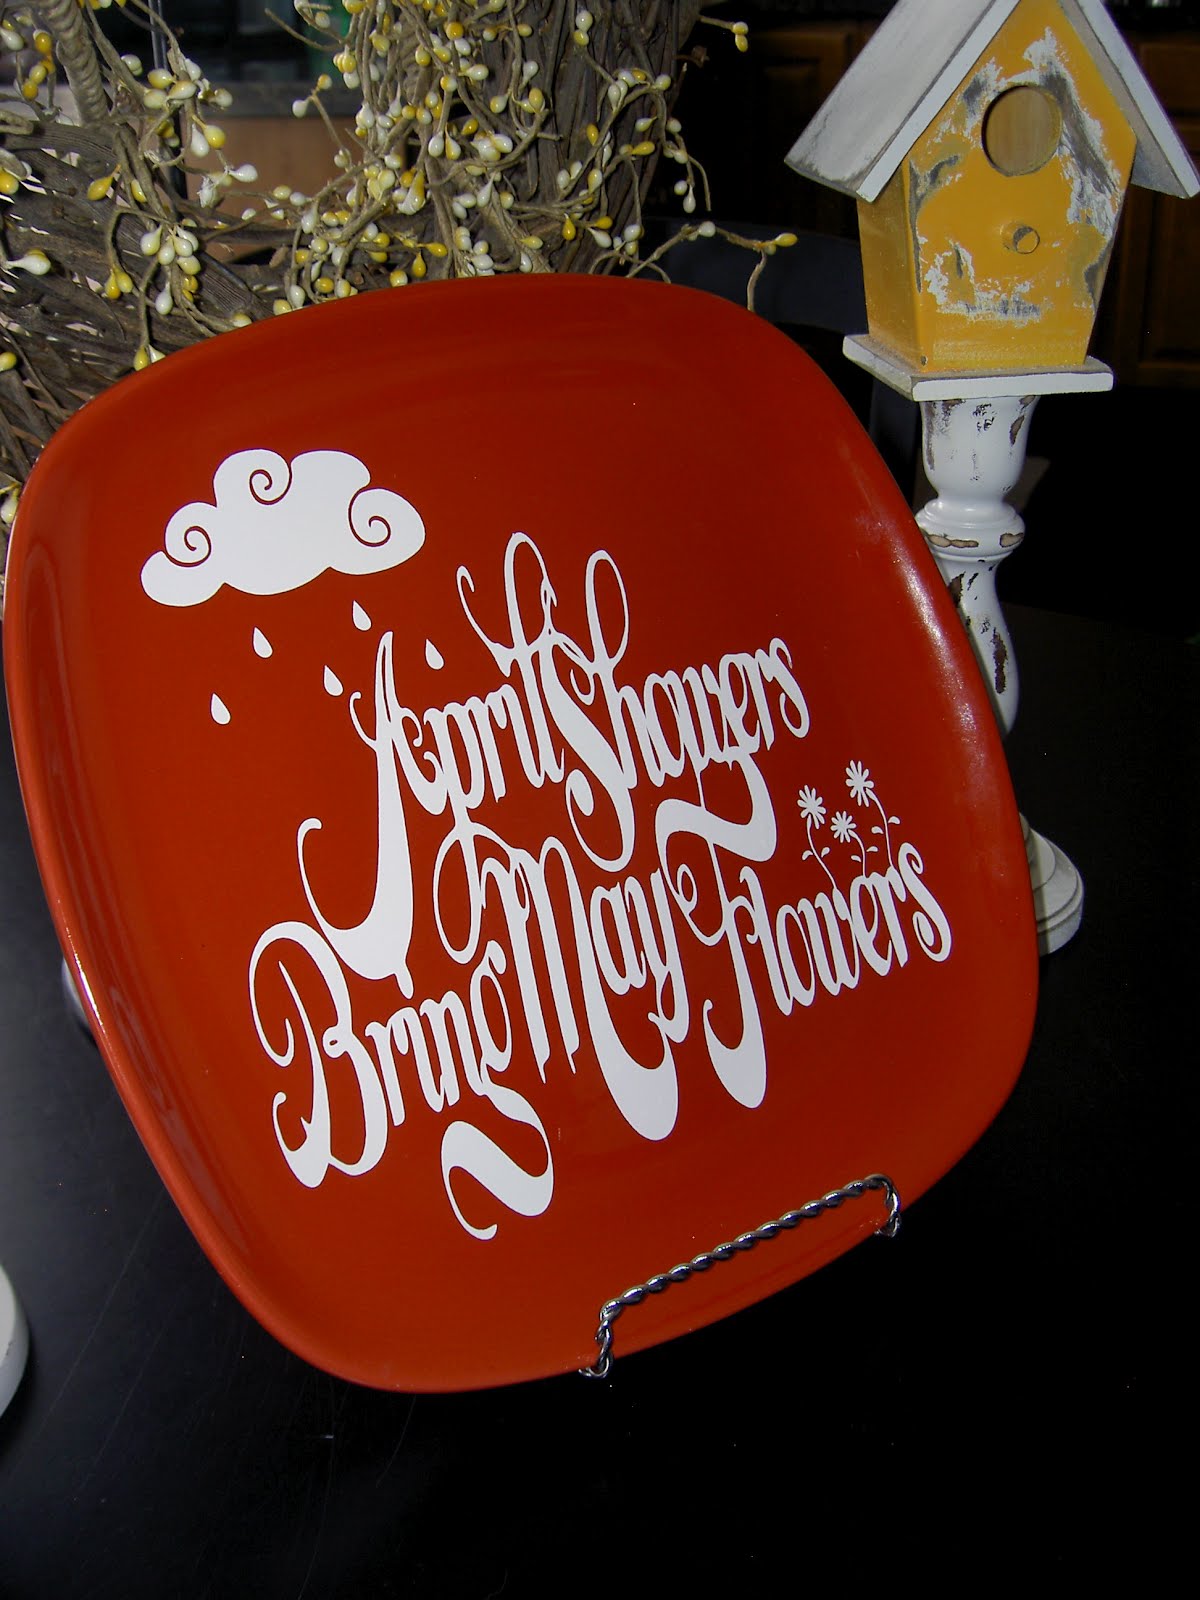 April Showers Bring May Flowers Vinyl. You can buy your own in my Etsy Shop.
 I found this cute April Showers print HERE I saved the image and printed my own.


 Cutting Fabric with a Cricut Tutorial:
 Cut the fabric and Heat N' Bond to the same desired size. Follow the directions on the package for ironing instructions.
  After it is cooled, peel the paper off the back of the fabric.
 Next, stick the fabric onto a Cricut Mat and load it into the machine.
 Now comes the difficult part, deciding what to cut out. For this project I decided on an elephant.
 Next, have the machine cut the image.
 Finally, iron the image onto whatever you are making. I made a pillow....So cute and easy!!!
 I also cut out a hippo!