Showing posts with label holiday decor. Show all posts

Friday, January 8, 2016

The Adorable Pallet Snowman


Let me tell you the birth story of this project. My sister's friend bought this snowman in the midwest. Since she knows my sister loves stuff like this, she texted this picture to her. I believe this snowman is made out of a giant spool, unfortunately, that's all I can tell you about it. So, like all our other projects, we dove in and made a plan as we went.


First thing we did was cut 3 (5.5"x 6') cedar fence slats in half (used 5 of the 6 half pieces). We also cut 1 (3.5"x6') cedar fence slat in half. We laid the boards out, found the middle and drew a big circle as shown.


I used my bandsaw to cut each board. I also cut out of the scraps: 2 eyes, 6 circles for the mouth, a nose, star, and a hat. I sanded and painted everything. The face is whitewashed.


Here's a back shot to show how we put this thing together.


This guy turned out so cute! Like with the pallet turkey, I was apprehensive about this project, but with some gentle pushing from my sister, we were able to make a really cute winter craft to display on each of our porches. He is so big that we can see him down the street.


The Adorable Snowman...


My sister came up a few days later and made some snowflakes for her shelf. Each snowflake is different in size and design. We made the winter letters a few years ago.

Monday, November 2, 2015

Pallet Turkey

A few months back, my sister found THIS pallet turkey on Pinterest and said we had to make our own. So we did.


Supplies:
(4) 3.5"x6' Cedar fence slats (cut in half = 36")
(1) 5.5"x6' Cedar fence slat
(1) 2"x2"x8' board
paint- orange, red, and white
paintbrushes
Dark Walnut Stain
Special Walnut Stain
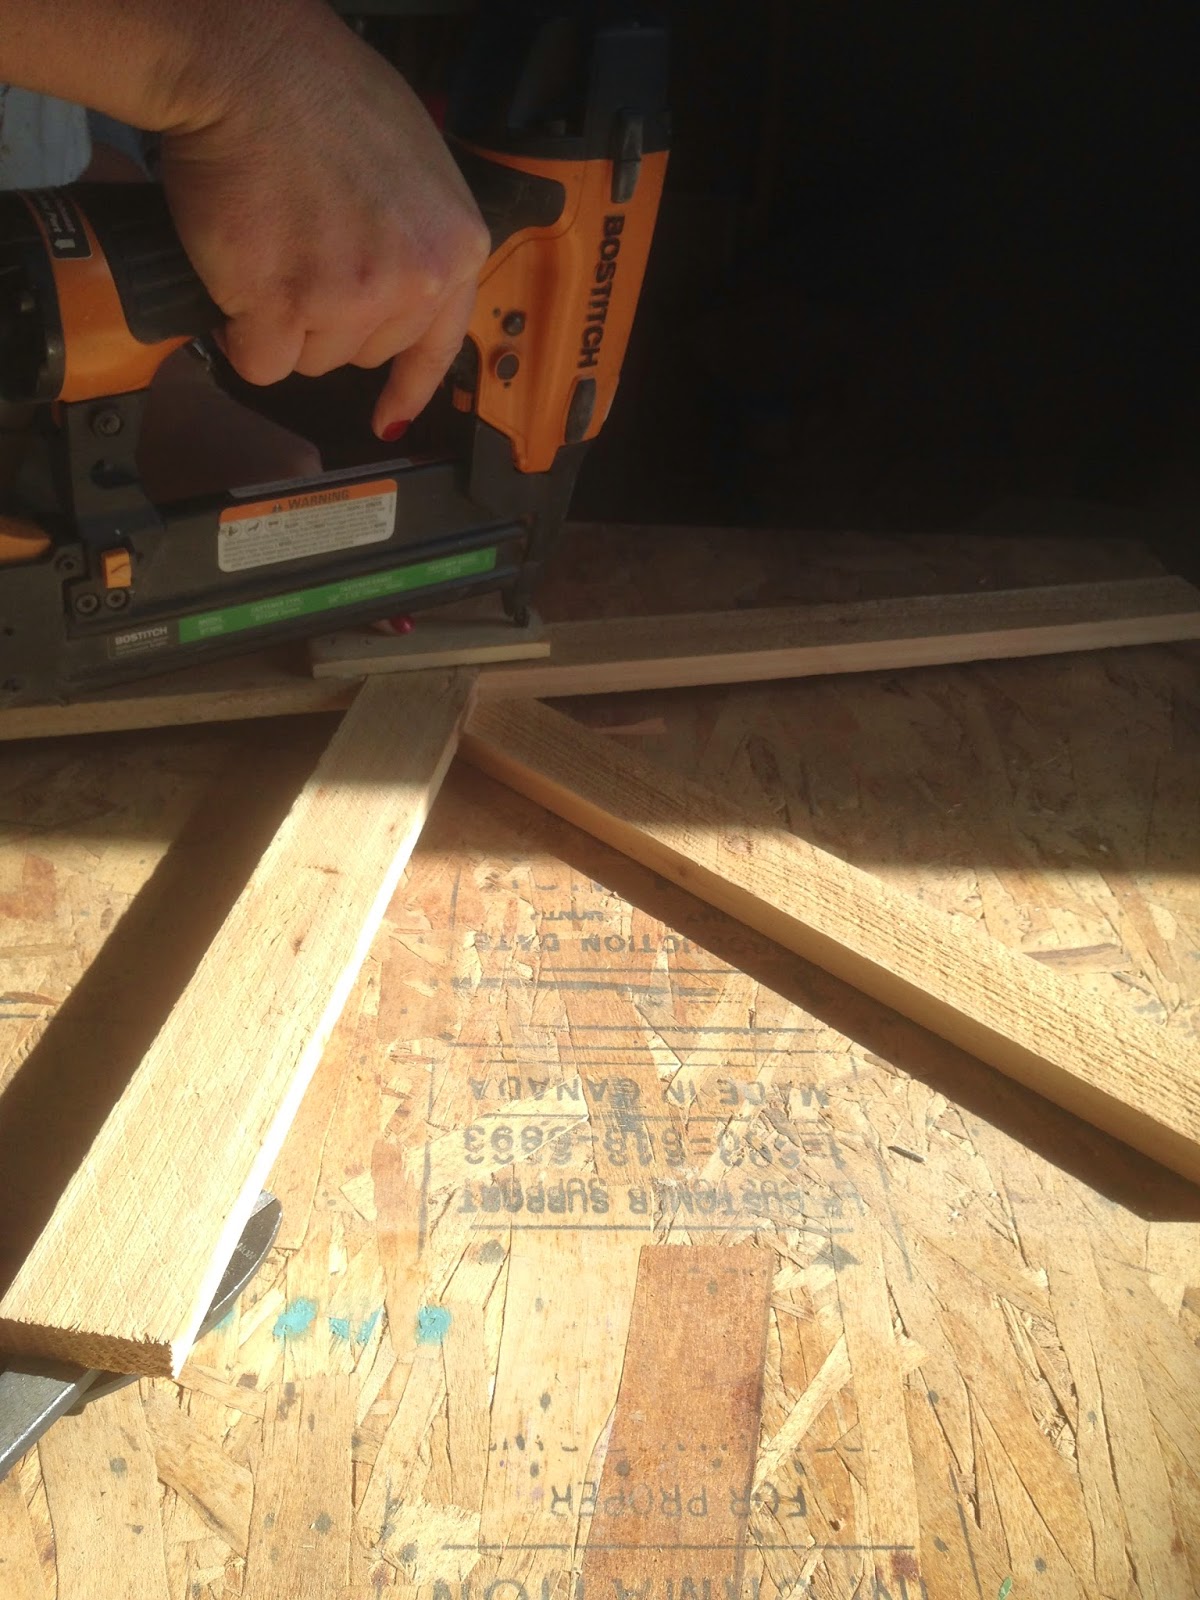
nail gun + nails
drill + screws
(2) buttons

First thing we did was lay the boards out. Next, we drew the body of the turkey onto the boards. Once we had the design all figured out, we cut it out, board by board, using a bandsaw.

Next, we glued and nailed support pieces to the back of the body.


We also did this to the back of the head/front. Not only did this add support to the turkey, but it also gave it a 3-D effect.

Before we glued/nailed the two parts together, we stained the back piece dark walnut and front special walnut. We also added a whitewash layer to the front/head piece. Then we painted the beak orange and the snood red, then glued/nailed it to the head. I thought my turkey needed eyes, so I glued on two different sized buttons.

Then we screwed three screws into the back of the turkey to connect the front body/head with the back body.


I went into this project feeling hesitant, and came came out overjoyed with the final product. I love it when projects turn out better than you thought they were going to!

Wednesday, February 11, 2015

Simple Heart Wreath

Many moons ago, I bought these grape vine candy canes at the thrift store. Since I have had them for several years and have never done anything with them, I was about to get rid of them when I had the thought to make a heart wreath with them. So, along with my neighbor and her cute girls, we had a craft day and made heart wreaths.


Supplies:
2- grape vine candy canes
red yarn
wire
wire cutters

Directions:
1. Wire the two grape vine candy canes together.
2. Wrap yarn around the heart.
3. Display!

Here's the extent of my Valentine's Day decor this year. I'm too lazy to go downstairs and haul everything up, just to haul it back down and haul St. Patrick's Day up. Hopefully I'll be a little more motivated to decorate for St. Patrick's Day.

Saturday, February 7, 2015

Not My Valentine's Day

So basically I have not decorated inside my house for any major holiday since last July. I haven't been totally holiday decor-less though, my porch gets a makeover every month. We have had a lot going on, and my creativity has been burned out for a while now. This post is dedicated to my sister's Valentine's Day shelf decor.


The wreath is from one of my many trips to the thrift store.

We made this kissing booth sign from THIS Silhouette Design Store graphic. We made our own pallet by using 3.25" cedar fence slats. The sign measures 14" x 25".


The LOVE letters came from the Wood Connection. While we were there buying the letters, I snapped these photos of the sets they had on display. I bought myself a set of these too, but I have yet to finish them.

Wednesday, December 31, 2014

Let It Snow Table Runner

For Christmas this year, I made my grandma and mother-in-law a table runner. Since they turned out so adorable, I think I need one for myself...


Supplies:
-(2) burlap pieces cut to 16" x 48"
-white 1/2" pom pom trim
-white paint
-stencil

First thing you want to do is stencil on with white paint your design onto the burlap.

Steps Not Pictured:
1. Sew white pom pom trim onto the two ends of one of the pieces of burlap.
2. With right sides together, sew the front and back together. Leave a hole at the bottom so you can turn it right side out.
3. Iron the table runner so it lays flat.
4. Sew a cute stitch around the runner. This will close up the hole. I used the edge of the foot as my guide.

Display for all to see.

Reversible Table Runner:


I tweaked the second Let It Snow table runner's design. I glued some snowflake gems to the snowflakes and instead of leaving the back blank, I made a Valentine's Day side. I also zig-zagged the edges together so the burlap won't unravel. I used white thread on top and red thread on the bottom.

Close-ups:


On another note, I was contracted by relatives to make a couple of things. They turned out cute, so I thought I would share...
A large ruler

A picture holder

Wednesday, December 3, 2014

Wood Snowflake Tutorial

I completed another Pinterest project that I have been meaning to make for a while... a wood snowflake for my front door. I used THIS tutorial for my inspiration.


Supplies:
- (2) 3"x 6ft cedar fence slats
- (4) 48" lathe slats
- brad nailer
- staple gun & staples
- wire cutters
- wood glue
- white paint
- painting supplies
- sander

Cut List:
- 3" cedar fence slat cut in half (lengthwise)
- Cut (2) 29" pieces
- Cut (2) 13.75" pieces
- 3 lathe slats cut to 24"
- 6 triangles
- cut lathe slats into 5" lengths (you need 12) then miter the ends

Since I didn't want the snowflake fat and bulky in the middle, I mitered the 13.75" pieces to fit against the 29" cedar board. I put wood glue on the ends then stapled the pieces together.

Keep in mind that your nails will be longer than the wood thickness, so you may have to use your wire cutters and cut the nail ends off during the whole project.

Next, I nailed & glued another 29" slat piece on top of the "X" we just made.

For extra stability, I nailed & glued a smaller lathe piece to the back of the wood pieces.

Here is how the snowflake should look at this point.

Next, I nailed & glued the 3 lathe pieces in place. Like so...

On those lathe pieces, I glued and nailed the wood triangles to the ends. Like so...

Next, I nailed & glued the mitered lathe pieces to make a "v" on the end on each cedar (29") pieces.

Paint...

Distress...

Display!


A whole front porch shot...

Tuesday, October 7, 2014

Stump Pumpkins

A few years ago, my sister saw at a local business, pumpkins made out of tree stumps. She took a picture and filed the project away. Last year, her neighbor cut down a tree and my sister inherited the stumps. This year, we finally got around to making our very own stump pumpkins.

First thing you want to do is get the bark off each stump. I didn't get a picture of this step. Then, with an angle-grinder sand each stump until smooth.
Like so...
At Home Depot, have the paint department tint some water based stain. We used a Glidden color called "Glowing Firelight"
Paint the stain on each pumpkin. You may want to do a couple of coats.
Let the pumpkins dry.
Next, cut a piece of tree branch to make a stem and glue or nail it onto each stump.
Display for all to see!
My sister has her porch decorated all cute like. Me, not so much....