I completed another Pinterest project that I have been meaning to make for a while... a wood snowflake for my front door. I used
THIS tutorial for my inspiration.
Supplies:
- (2) 3"x 6ft cedar fence slats
- (4) 48" lathe slats
- brad nailer
- staple gun & staples
- wire cutters
- wood glue
- white paint
- painting supplies
- sander
Cut List:
- 3" cedar fence slat cut in half (lengthwise)
- Cut (2) 29" pieces
- Cut (2) 13.75" pieces
- 3 lathe slats cut to 24"
- 6 triangles
- cut lathe slats into 5" lengths (you need 12) then miter the ends
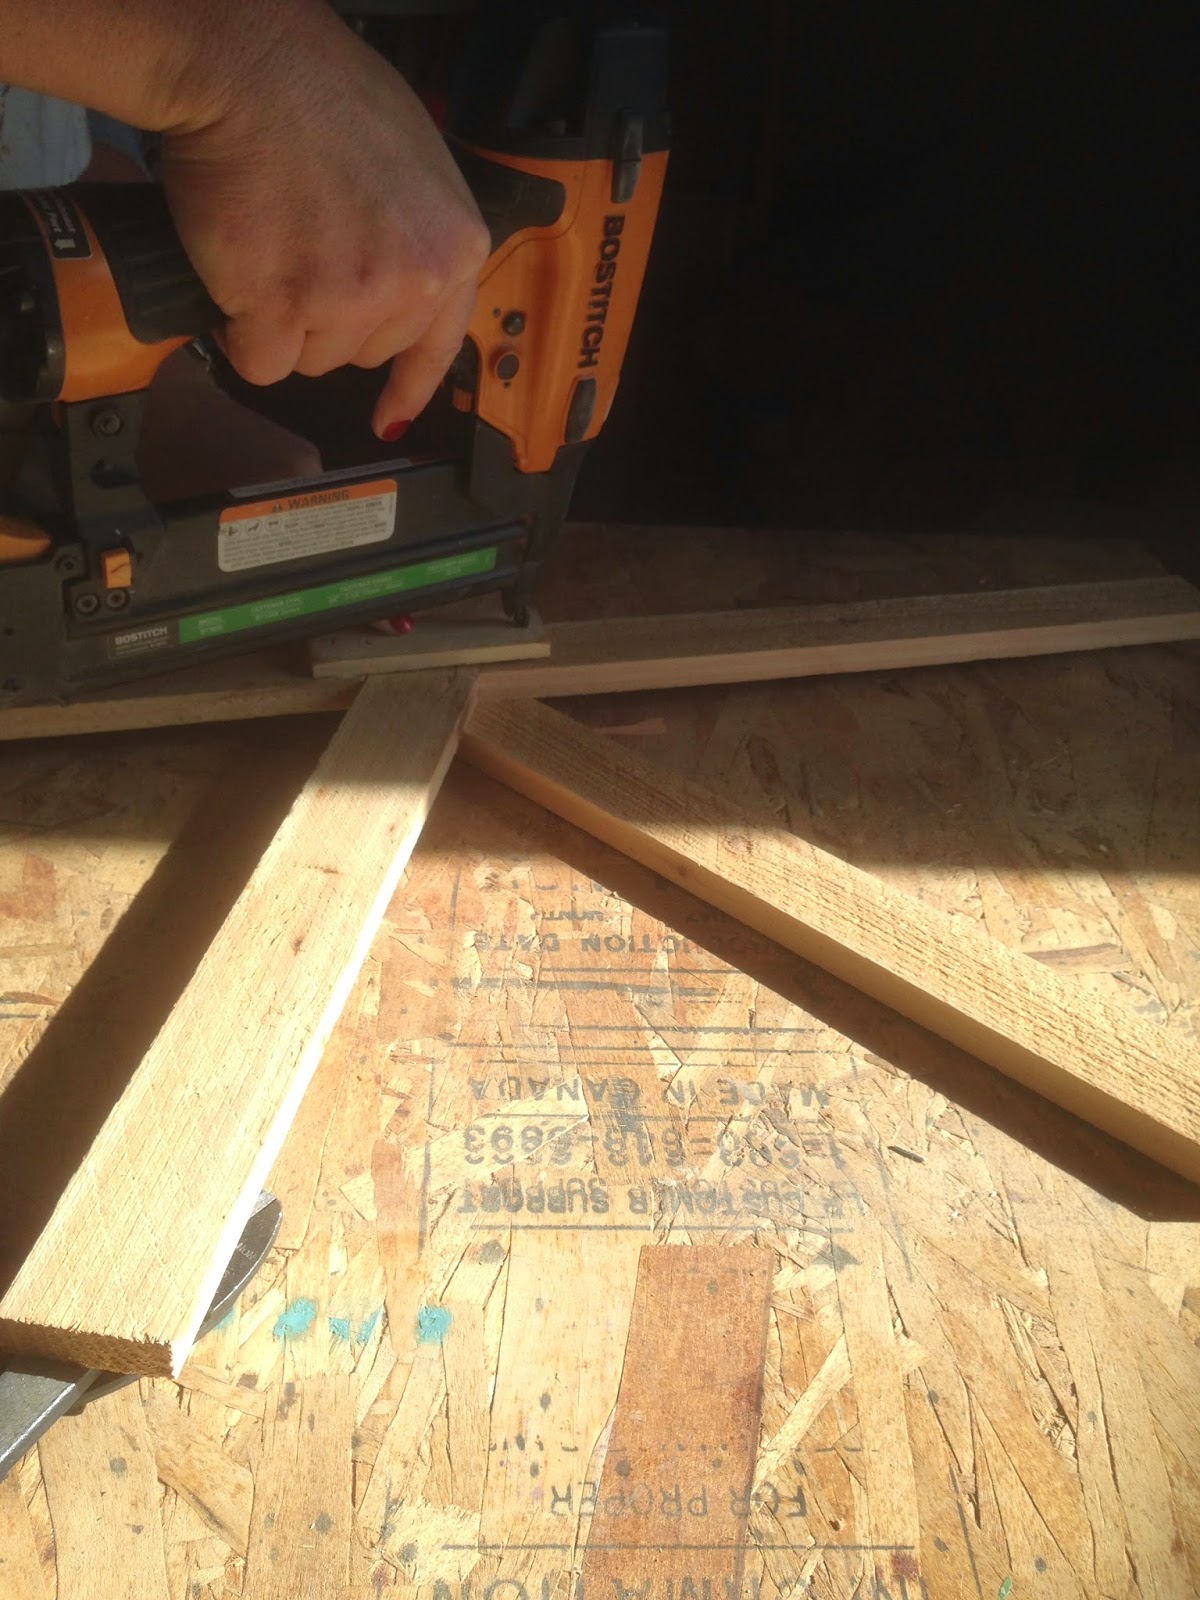
Since I didn't want the snowflake fat and bulky in the middle, I mitered the 13.75" pieces to fit against the 29" cedar board. I put wood glue on the ends then stapled the pieces together.
Keep in mind that your nails will be longer than the wood thickness, so you may have to use your wire cutters and cut the nail ends off during the whole project.
Next, I nailed & glued another 29" slat piece on top of the "X" we just made.
For extra stability, I nailed & glued a smaller lathe piece to the back of the wood pieces.
Here is how the snowflake should look at this point.
Next, I nailed & glued the 3 lathe pieces in place. Like so...
On those lathe pieces, I glued and nailed the wood triangles to the ends. Like so...
Next, I nailed & glued the mitered lathe pieces to make a "v" on the end on each cedar (29") pieces.
Paint...
Distress...
Display!
A whole front porch shot...


1 comment:
LOVE LOVE LOVE!
Post a Comment